What to Do With Horrible Exterior Faux Stone Wall Panel
I'm non fifty-fifty going to mess effectually with a proper intro paragraph in this post, permit's just become to the proficient stuff. Behold…
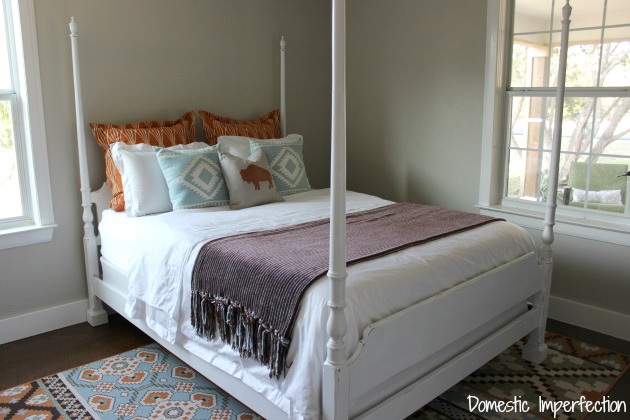
Before –
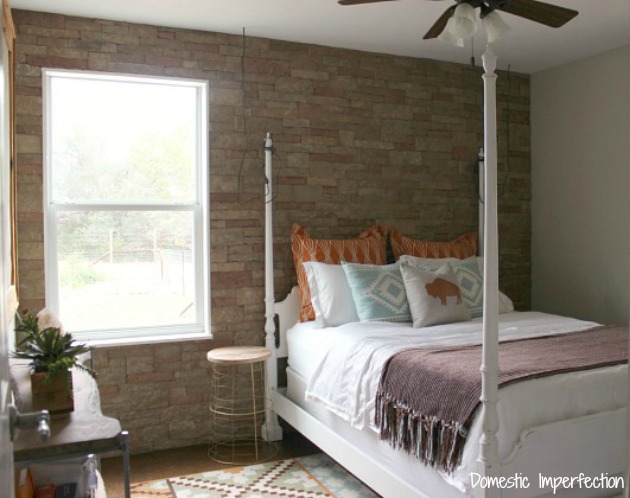
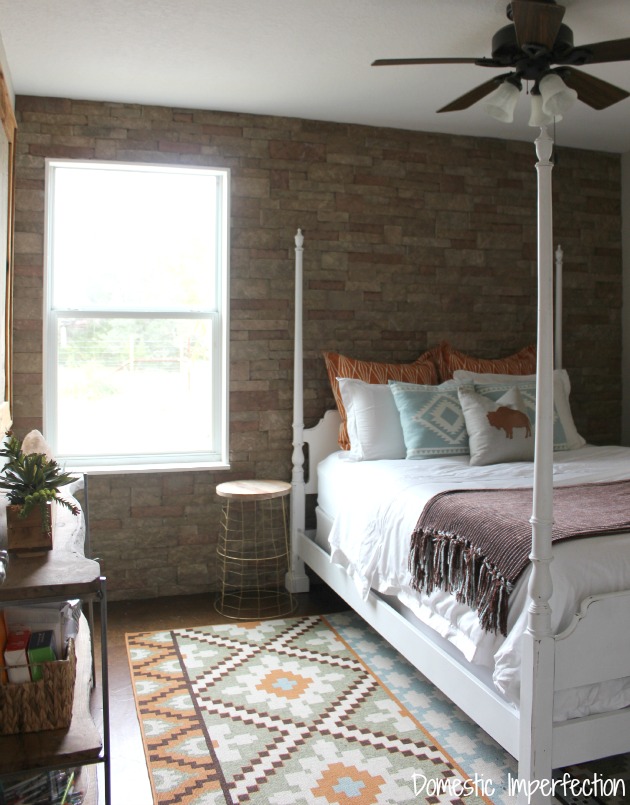
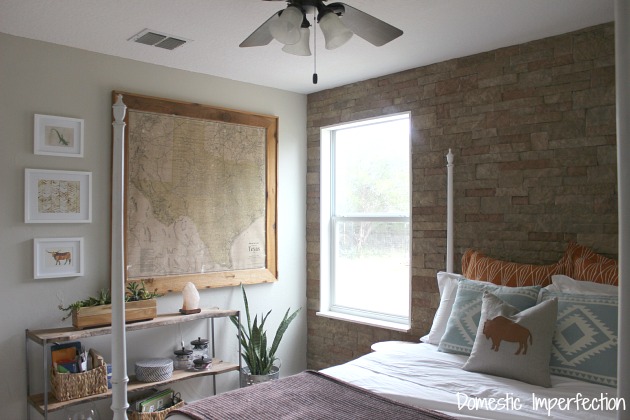
After –

I love it And so MUCH.
Now that pictures are out of the way, allow's get to the story.
Since deciding to re-do the invitee room I knew I wanted something interesting on the wall backside the bed. I didn't want it to be colorful or bold, simply rather very neutral. What I was later was TEXTURE. Big, beautiful, neutral texture. So my encephalon started going through all the things that I fit into that category….
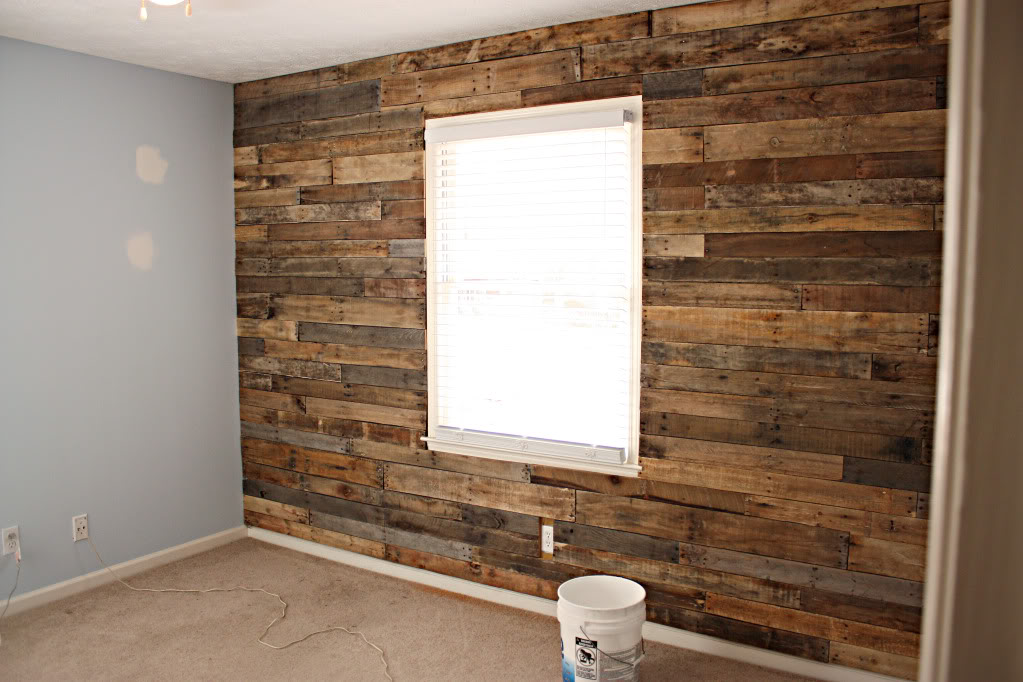
Forest plank wall?
 Source – Bower Power
We've planked things before (hither and here) earlier and it pretty like shooting fish in a barrel, and would be cheap and fairly quick.
Grasscloth?
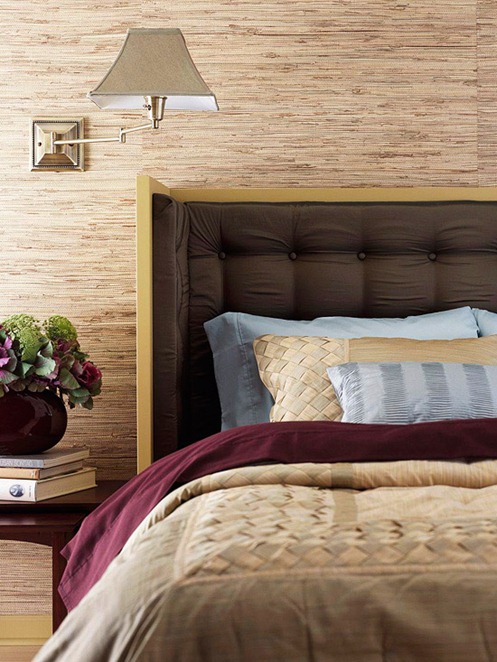 Source – BHG
Burlap walls? (aka the poor mans grasscloth)
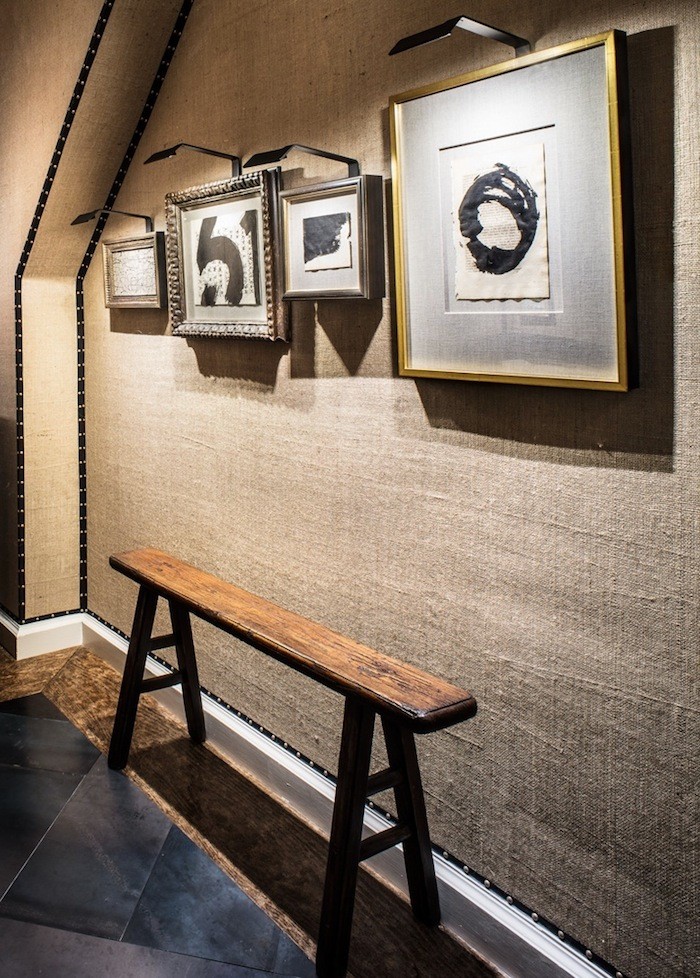 Source – Remodelista
And then I remembered something I pinned a while ago….a brick wall.
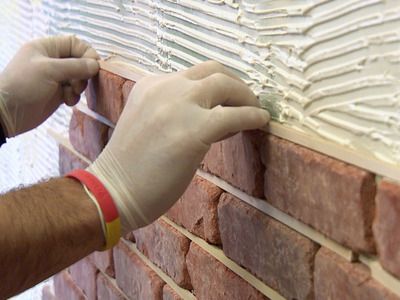 Source – The DIY Network
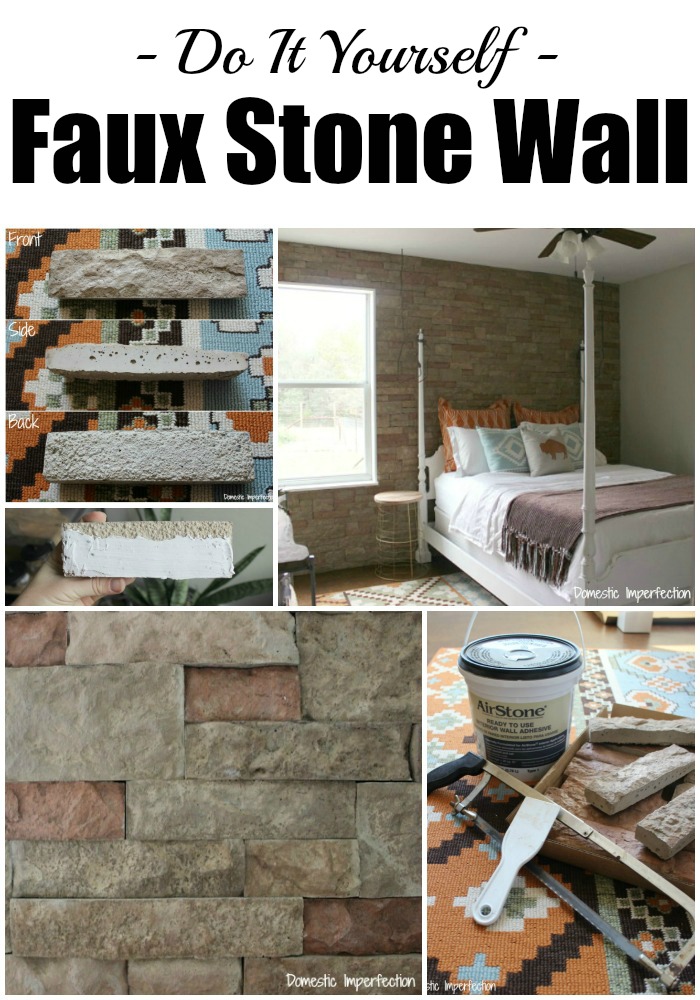
A brick wall would wait crawly, and evidently you lot can buy sparse bricks meant only for this sort of project. Then I got to googling to meet where I could buy some. I wasn't having much luck, but somewhere in my internet wanderings I came across a production called AirStone. It was similar to the brick thought and basically the same shape, but it was meant to look like stone.
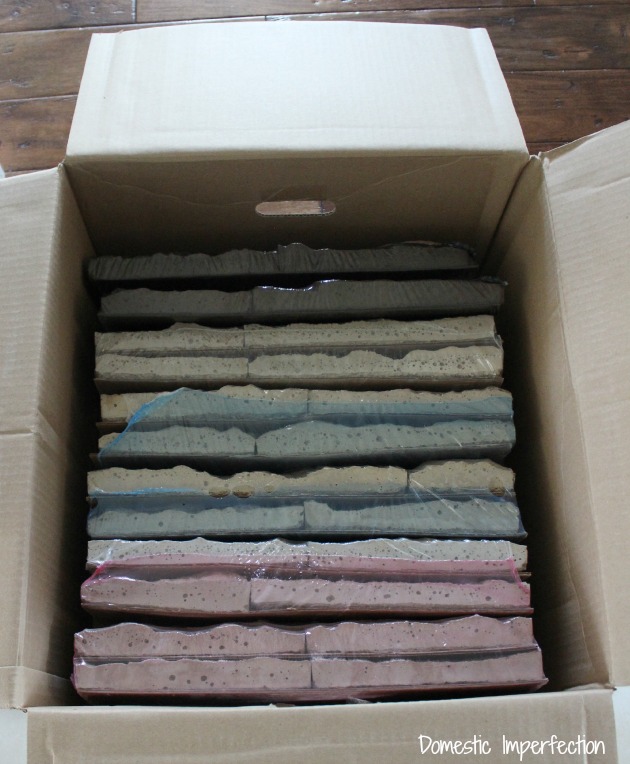
It was perfect, and before I knew it this was sitting in my driveway.

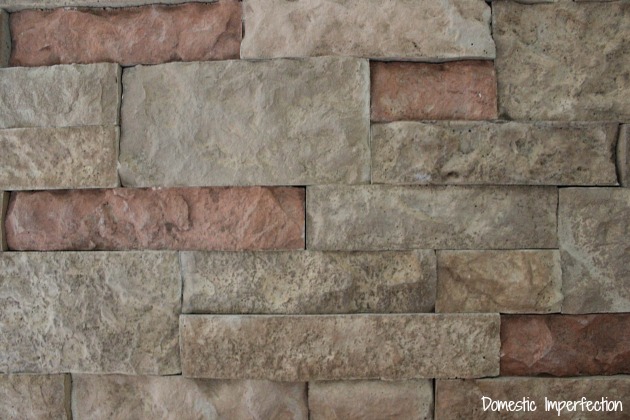
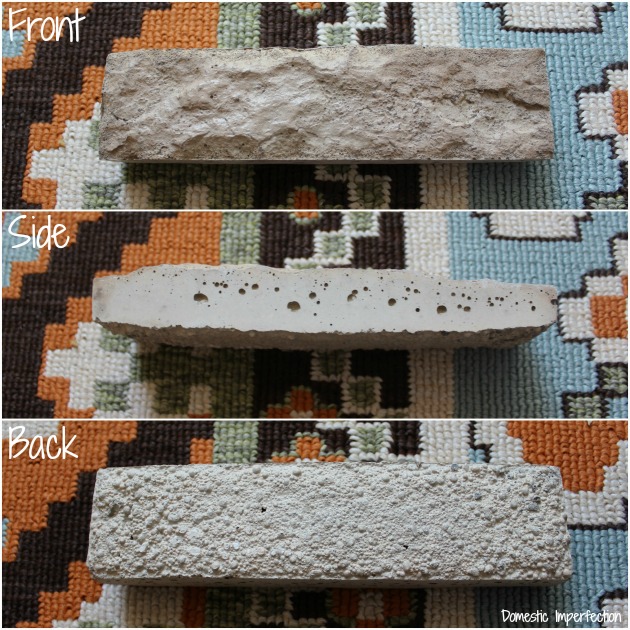
Now for some reason I had information technology in my head that AirStone was made of a dense foam. I don't know where I got that from, but as before long every bit an 18 wheeler pulled upward to my house and a sweaty, struggling delivery homo tried to pull it up my driveway with a dolly I knew it couldn't be foam. They are more than like concrete…really light physical. Here is what it looks like up close…
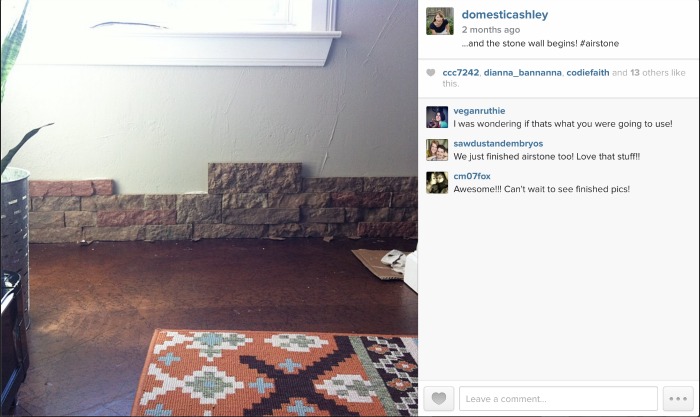
I was super excited to get started on this project, and so I ripped open the boxes and got right to work.
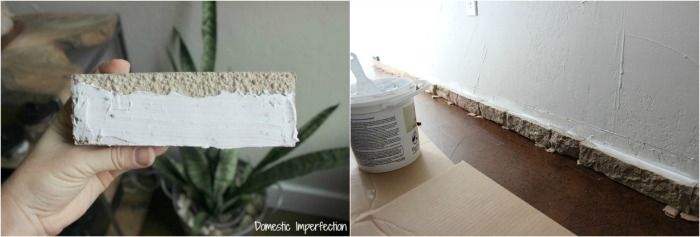
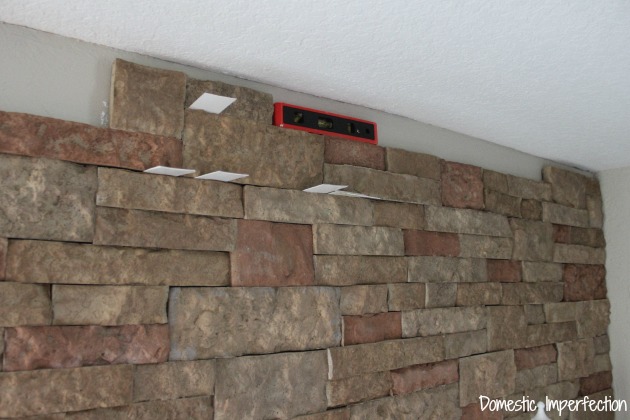
I started by ripping off the baseboard…I thought virtually leaving it, simply ultimately decided that the wall would await more authentic without it. The first row took forever since I had to use the level and cardboard shims to brand it even, but after that it was pretty straightforward. You just use a smear on a bit of the AirStone adhesive, and press into identify.
AirStone has a few different colors blends (which you can see Here), this one is the Vineyard Alloy. I really like it, and since it doesn't have the colour variation of the other blends I could simply slap of stones without worrying that the colors were dispensed evenly.
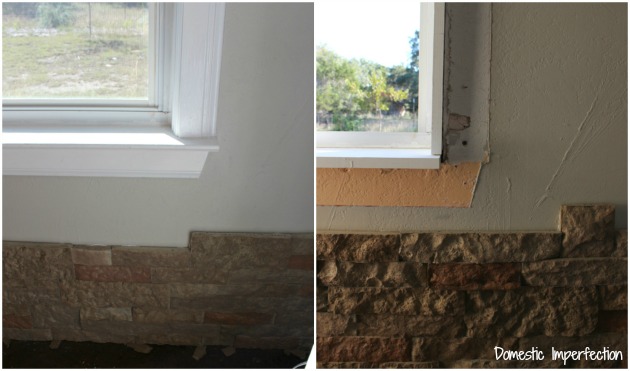
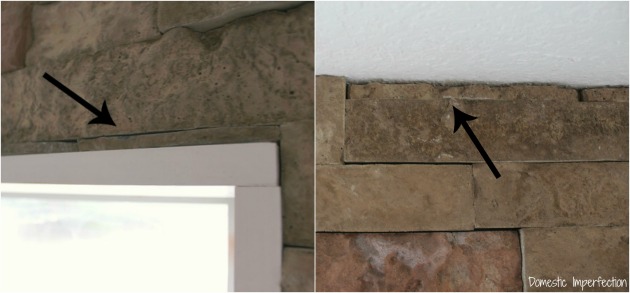
When I got to the window I wasn't sure what to practice, since all I had were the flat edge stones and they stuck out further than the window trim. Airstone makes live edge and corner pieces for stuff similar this, but since we didn't take whatsoever Adam and I decided to rip out and replace the trim with something that would be easier to work around.
The hardest part of the project was cutting the stones lengthwise when I got to the top of the wall and around the window. To add insult to injury the ceiling is kinda slightly wavy (but similar most architect course homes), so each and every cut was different. Up until this part I installed the rock 100% by myself, but after all the ladder climbing, measuring, cutting, recutting, and RErecutting, my 7 month pregnant back couldn't take anymore. My husband defenseless me struggling and was like…

Ok, that might be giving him a little too much credit. He's slap-up and all…only he's not faux Ryan Gosling bully. He was more similar…

That'southward much more real life, and a good trade if you ask me. Cutting those AirStone slivers was definitely harder than folding laundry.
Overall this was a very like shooting fish in a barrel procedure and anyone can do it. That beingness said, information technology was a fleck wearisome. At 1 paint I started having flashbacks to stenciling my master bathroom. If you follow me on instagram you probably noticed my excitement level tapering off as the project progressed….
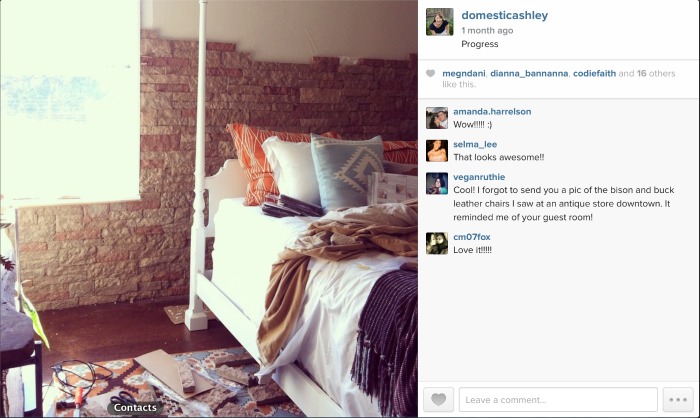
The cease is totally worth the means though, the rock wall makes the room.
Helpful hints:
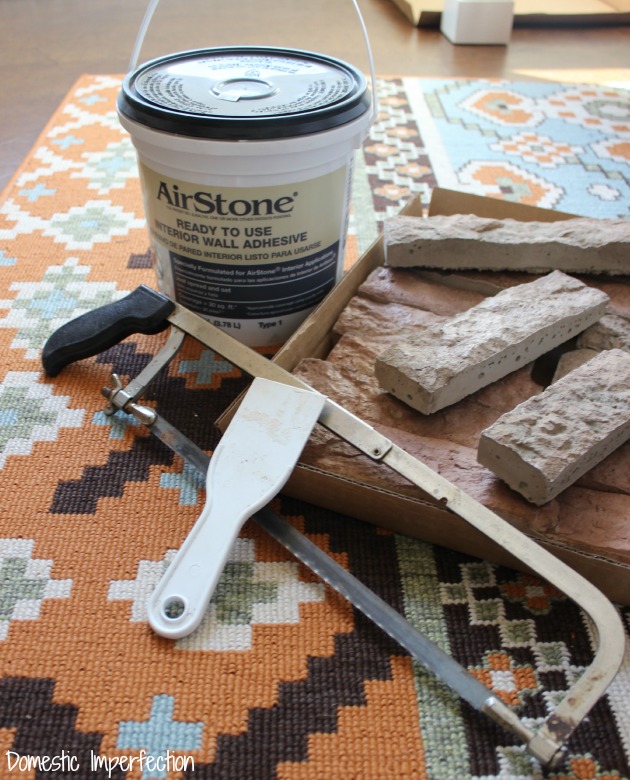
According to AirStone the but tools you'll need are a hacksaw for cut and a putty pocketknife for smearing the adhesive. While that's 100% true, I institute that these additional tools were really, really helpful.
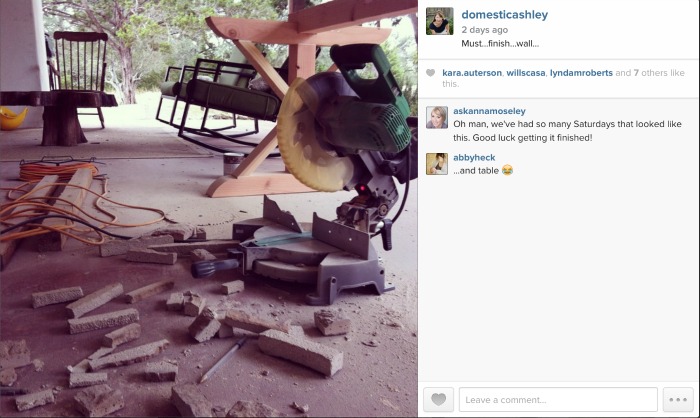
i. Chop saw
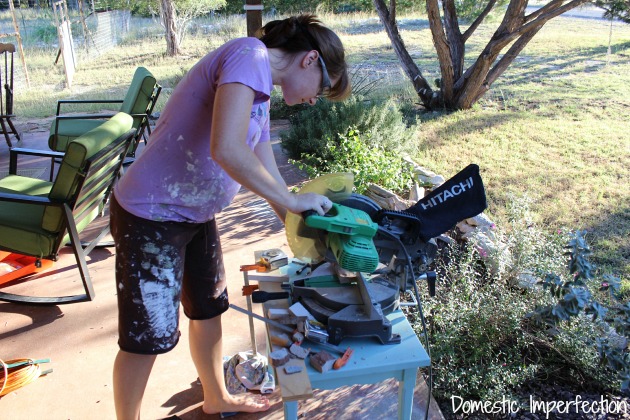
(I know, I know, barefoot and significant….)
Yous tin cut the stones with a hacksaw, merely information technology's not fun or quick. A chop saw makes information technology SO much faster.
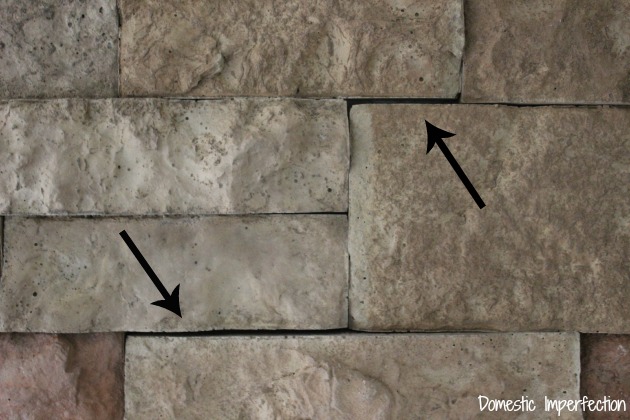
2. A chisel – sometimes I found that the stones weren't 100% the same height. When this happens y'all tin only keep on adding stones, but information technology will result in either a gap when y'all add the next layer, or a wavy lines of stone. So when it was bad enough I would chisel off some of the extra top. Tedious, yep, simply didn't happen all that ofttimes.
3. A level – gotta keep those suckers direct. (As well, I finally found a apply for all my extra concern cards.)
Overall I used 10 boxes and three tubs of adhesive to complete the wall, which is 11.five ft wide and 8 feet tall. Also, AirStone is simply sold at Lowes (not Home Depot).
Allow'south take a wait at a couple more pictures, shall we?
![]()
UPDATE – CLICK Hither TO Run across THE FINAL ROOM REVEAL
*I didn't receive monetary compensation for this post, but AirStone did send me the stone free of charge. All opinions are 100% my ain, always.
Source: https://wildfireinteriors.com/diy-faux-stone-wall/
0 Response to "What to Do With Horrible Exterior Faux Stone Wall Panel"
Post a Comment